I ordered the Marrakech Trellis Stencil from Cutting Edge Stencil to stencil my bedroom wall. I was nervous to attempt this project but it was actually very easy and I love the result.
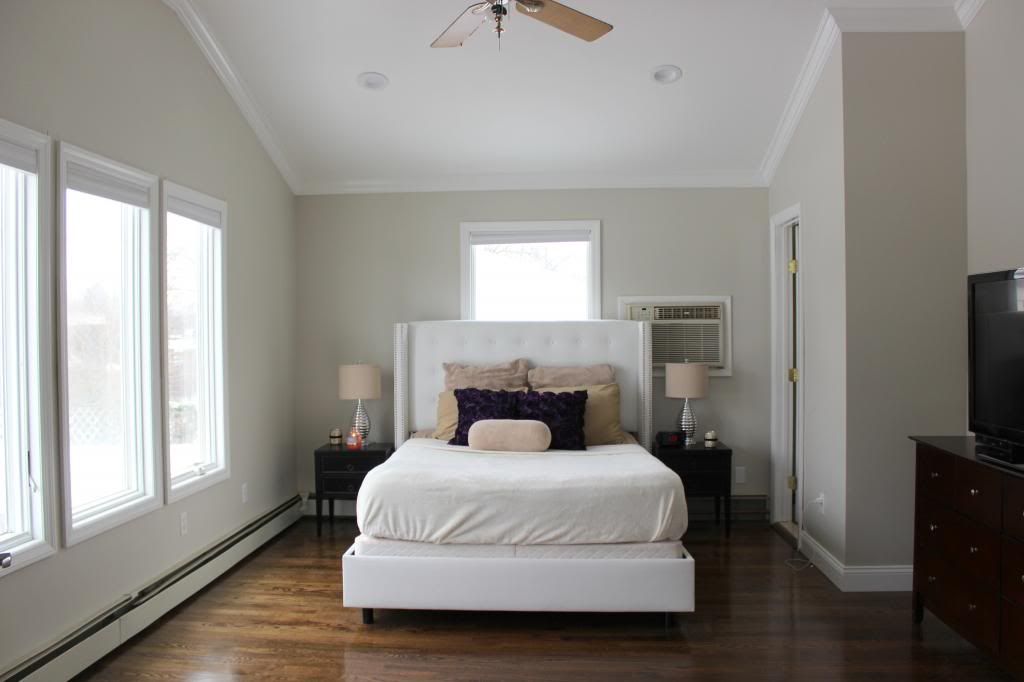
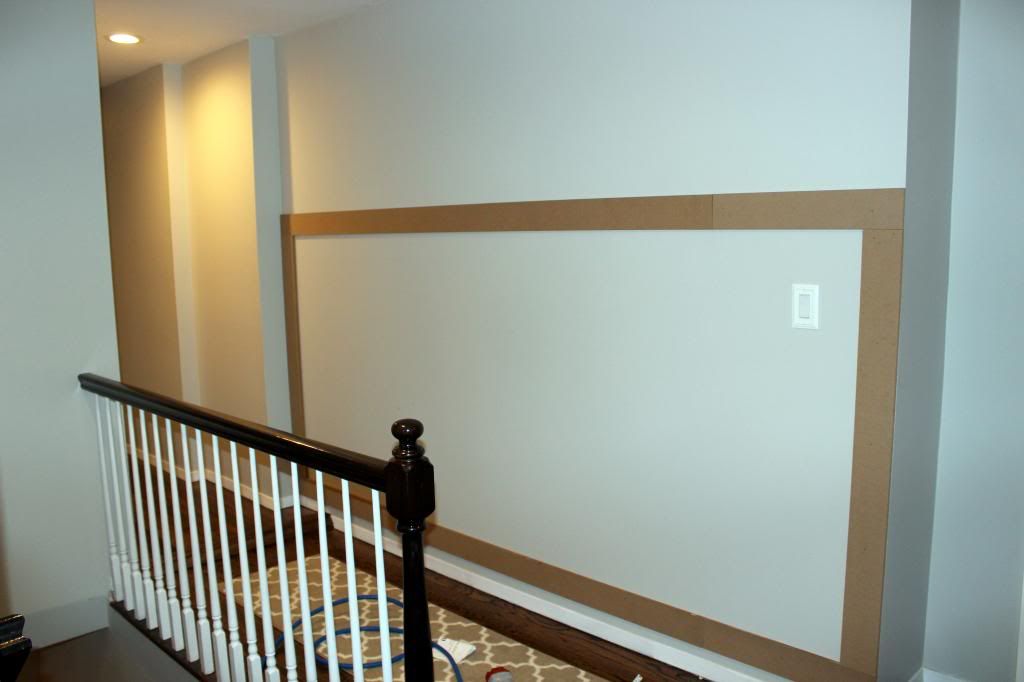
Before
What I used:
2) Benjamin Moore Latex paint in Pearl

3) Foam Roller/ Styrofoam plate
4) Blue Painters Tape
5) A wet wash cloth or paper towel
How To:
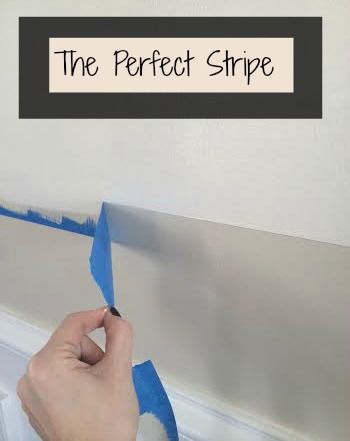
1st: Tape off your trim and ceiling with blue painters tape.
2nd: Using the blue painters tape, tape the stencil flat on the wall. (You can purchase a level that goes on the stencil but I didn't, I just matched up my lines as I went along and they came out perfect)
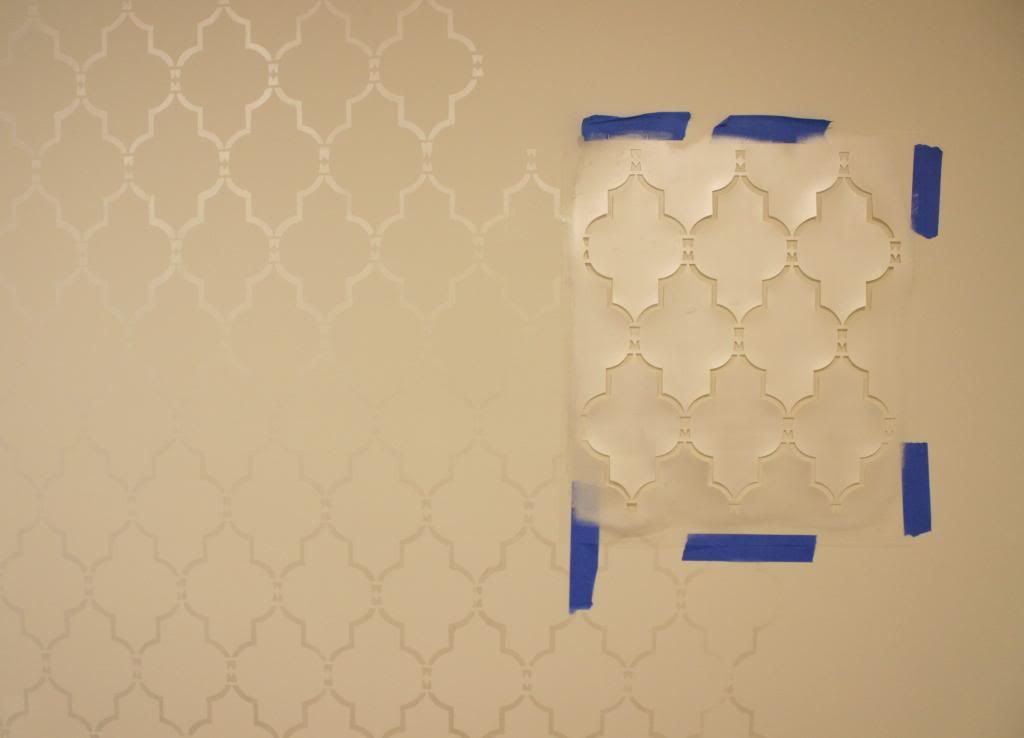
3rd: Roll the foam roller in the paint and than roll the foam roller onto the Styrofoam plate to get rid of the excess paint. Your roller should not be wet. Remove the stencil while the paint is still wet. I used a blow dryer to help the paint dry quicker. You can clean up your mistakes with a wet wash cloth or a paper towel.
4th: Match up the lines in your next section and continue steps 2-4.
That is it! It was so quick and easy!
AFTER
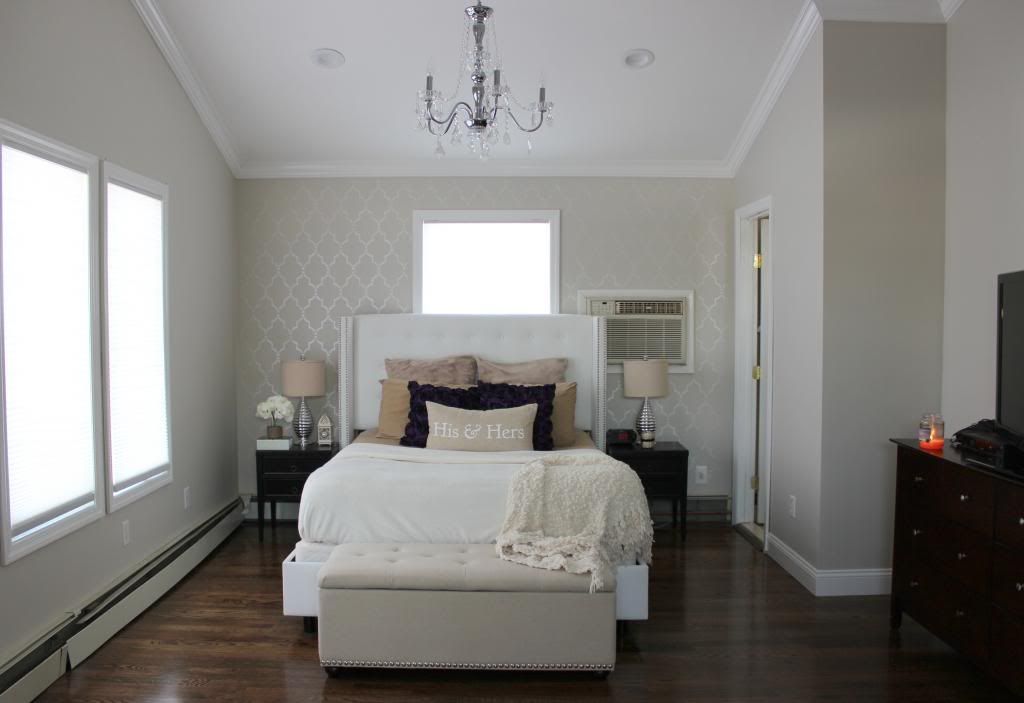
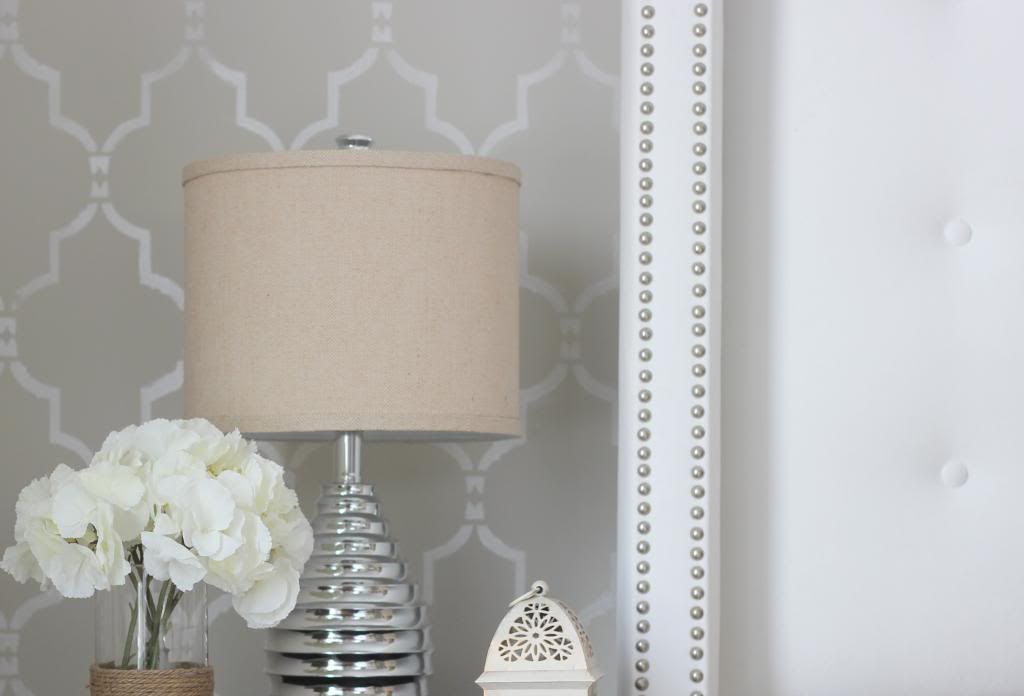
I love how subtle and classy it is. We also got rid of the ceiling fan and added a chandelier that I purchased from Overstock. (UGH THAT UGLY AIR CONDITIONER)

If I could...I would stencil every wall in my house. I will definitely be purchasing more stencils from Cutting Edge Stencil but first I need to finish my bedroom. Cant wait to buy curtains to hide that ugly air conditioner!!


