My upstairs hallway was so blah, I needed to add something! I've seen board and batten walls on Houzz and I wanted to try it...so we did.

What we needed was :
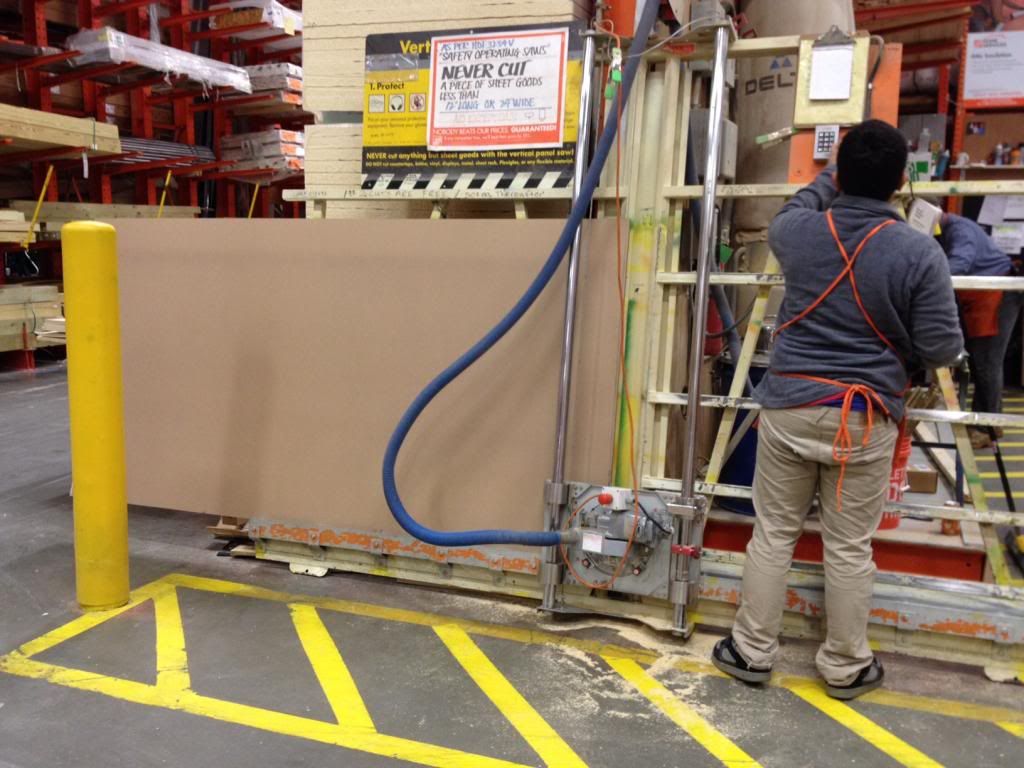
1) Two 4×8 sheets of MDF cut 1/2 inch thick (We got them cut in home depot $20.00 each)
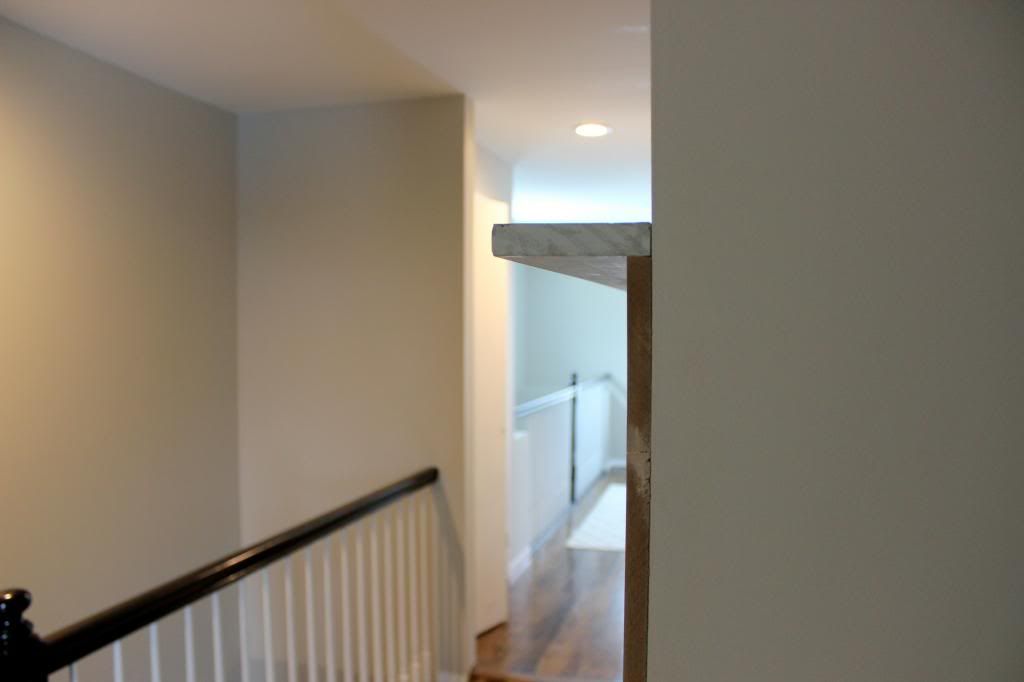
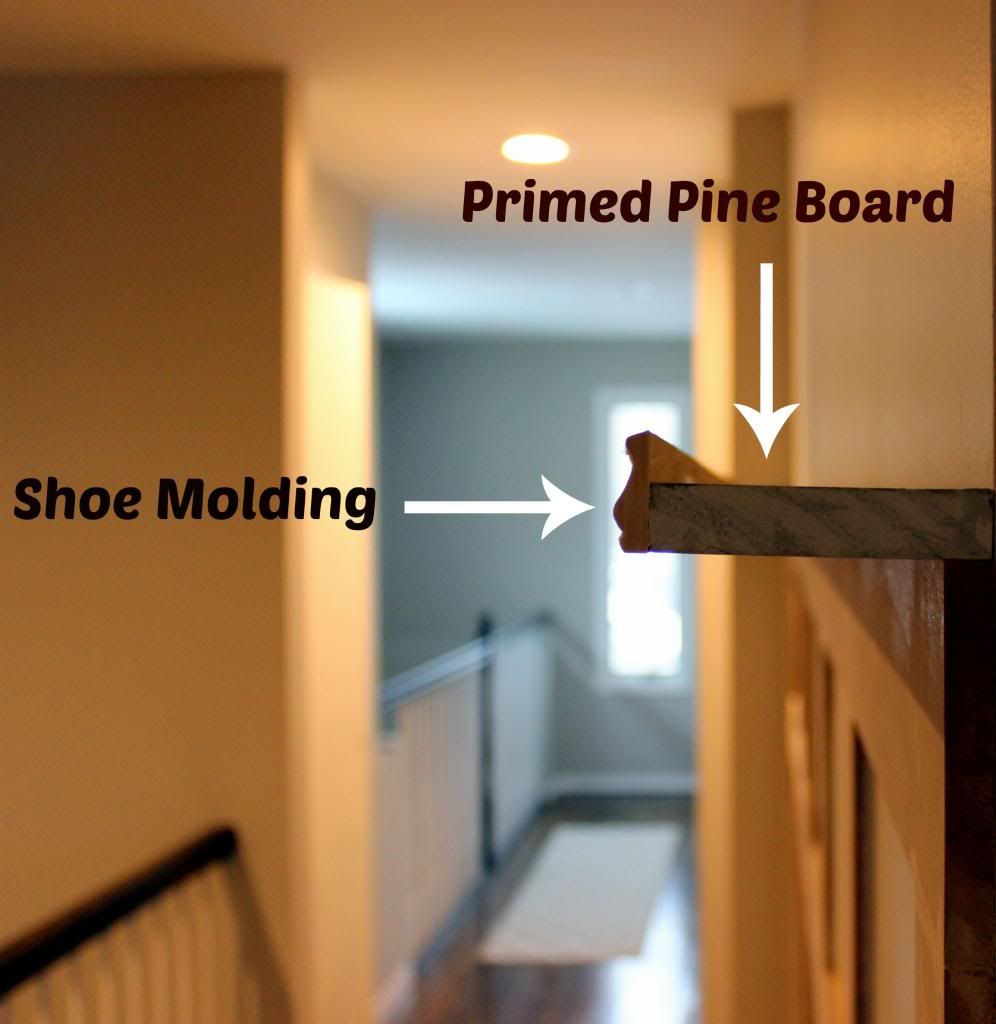
2) Pine board for the shelf
3) Shoe Molding or Lattice for the lip of the shelf
4) Nail Gun
5) Caulking to fill in the nail holes
How to:
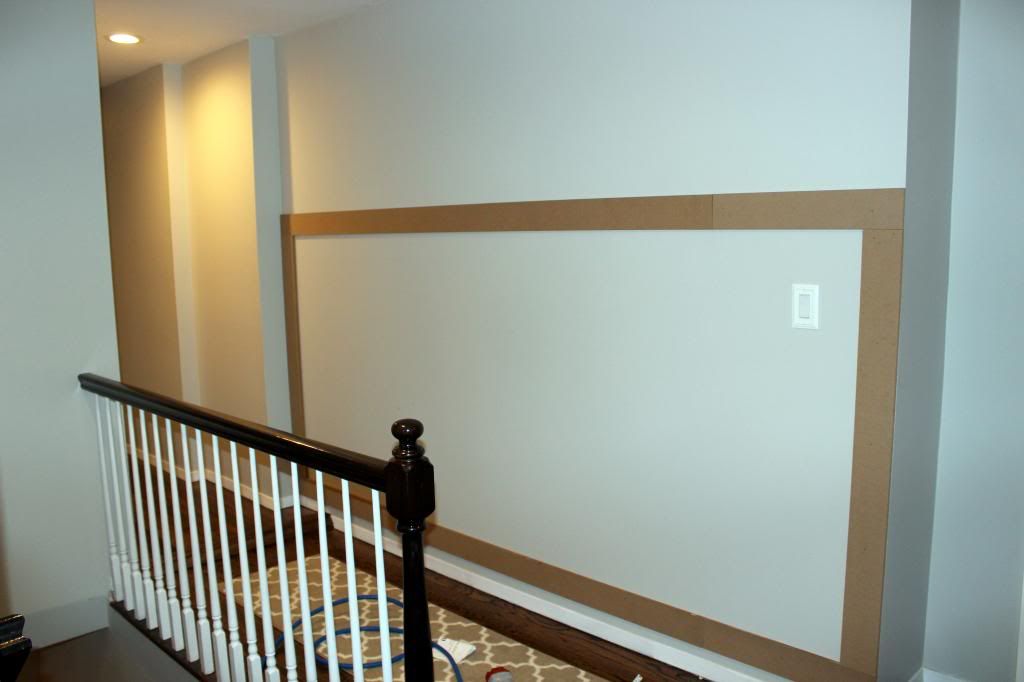
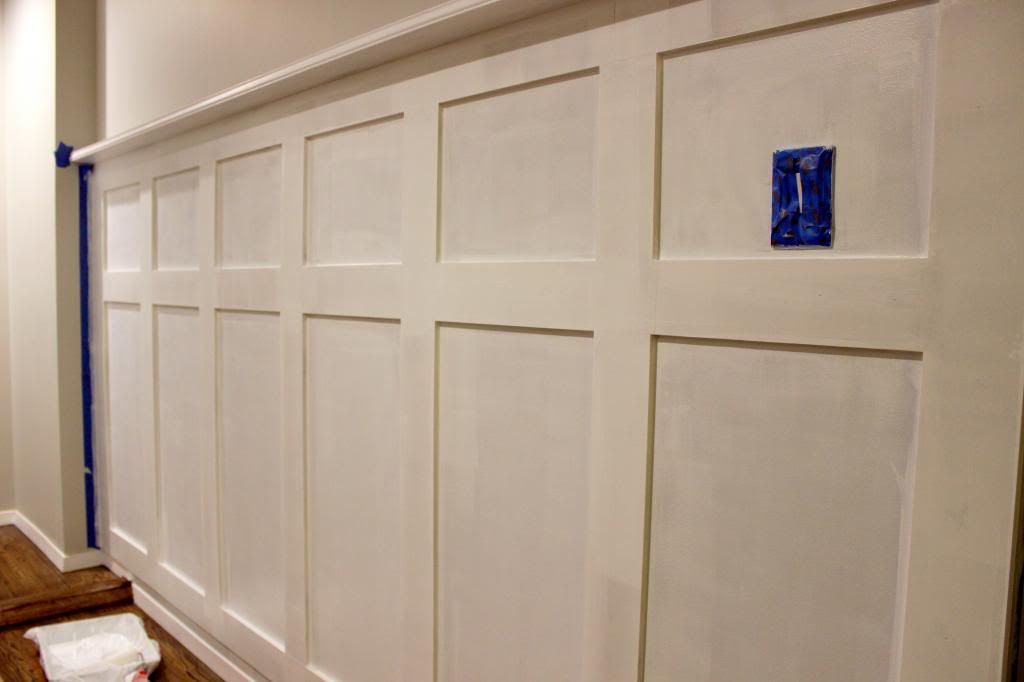
1st: We measured and outlined our wall with 4 pieces of MDF board and using the nail gun nailed them into place. Make sure you use a level so your boards are straight.
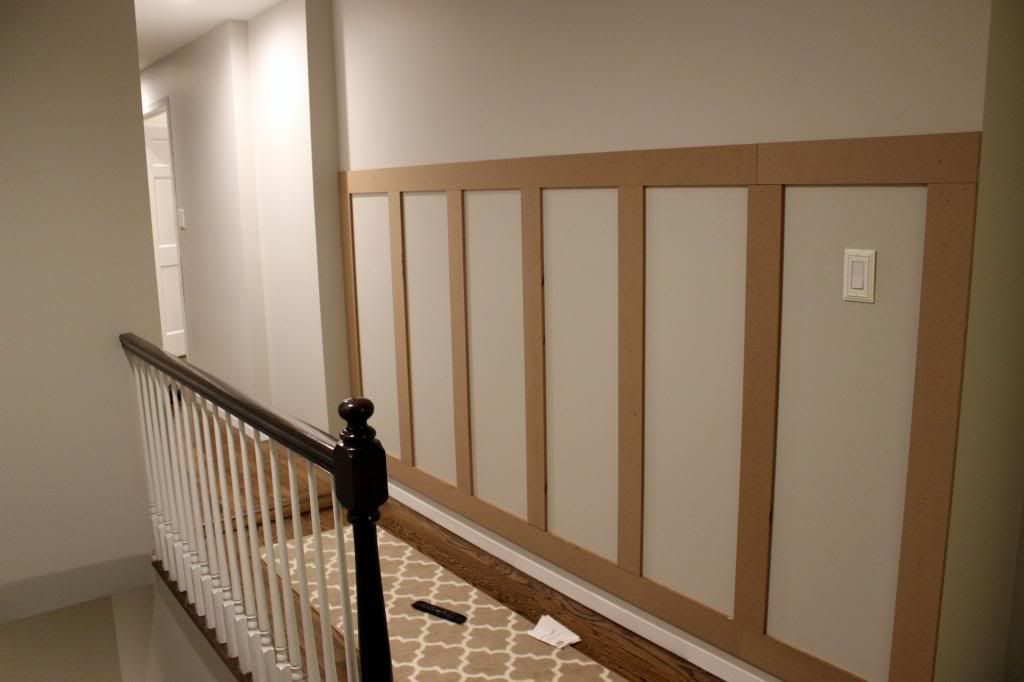
2nd: We measured and cut our boards to fit vertically in between our frame and nailed them into place. This is your preference depending on how many you want going across your wall. (We did ours around our light switch).
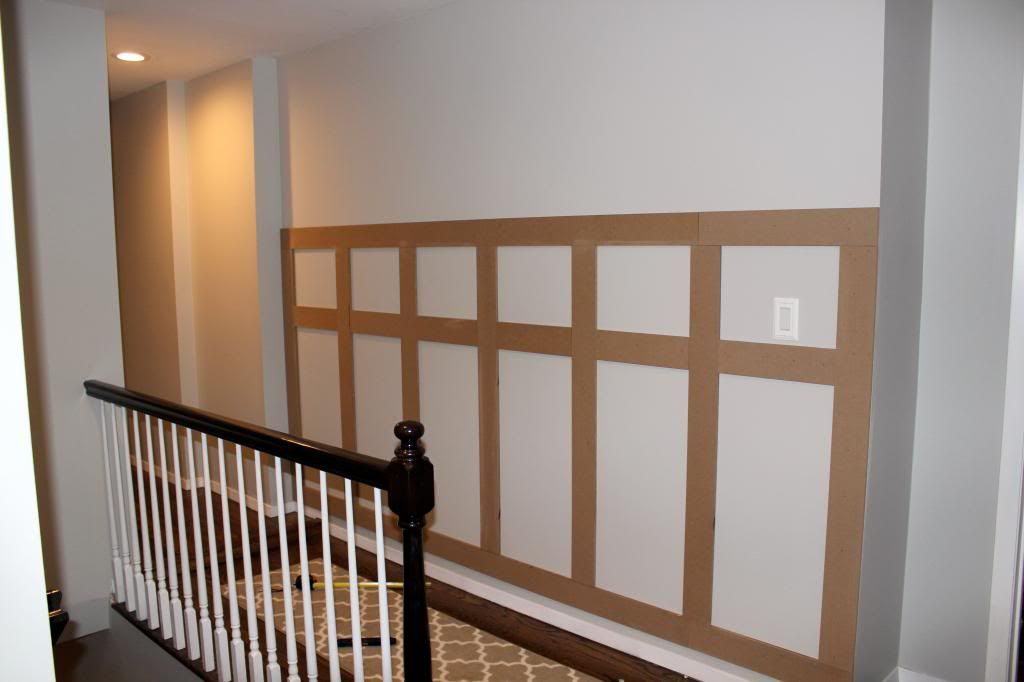
3rd: We measured in between the boards and cut the horizontal boards to fit in between each rectangle. This again is a preference with how big you want the upper box. You could do more than one box if you like.
4th: We filled in the nail holes, inner corners, and where all the boards met up with white caulking. I made sure to caulk as lightly as possible so that sanding wouldn't be too hard.

5th: We added the pine board to the top of the MDF board to create the shelf. To secure the shelf we used "Tough as nails" and also nailed it into place with the nail gun.
6th: We added the shoe molding as the lip to the shelf. You could use whatever you prefer, I've seen a simple piece of lattice used.
7th: Using 220 sandpaper sand all the spots that were caulked with a palm sander (or by hand) to make them smooth . Then prime it with one coat of Ultra White paint in semi gloss from Home Depot. (Or the color you choose to paint it)
Letting it dry for tonight!!!
No comments:
Post a Comment